1

Your cart is empty.

08 Aug '16

How to Choose The Best Shampoo And Wash Your Hair Healthy

Choosing The Right Shampoo for Healthier Hair
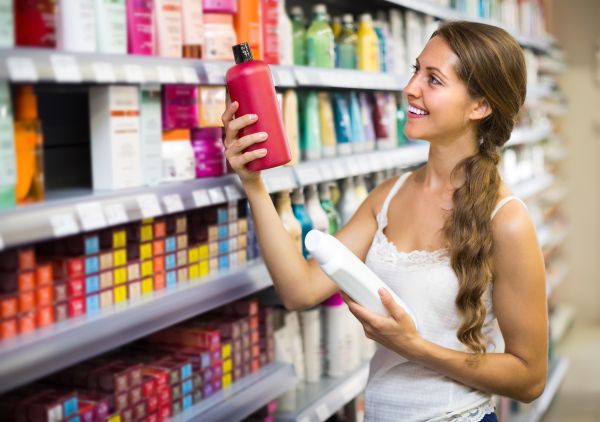
Woman Choosing Her Shampoo and Conditioner- ISA Professional

While it may seem like a simple topic to talk about, there are many that do not consider the ingredients or consistency when choosing their shampoo or conditioner. Maybe you think that all shampoos and conditioners provide the same results, but that is not true. All of us should be better researched on what makes a high quality shampoo or conditioner and even though it sounds a bit overwhelming, believe me, it's worth knowing about. In addition to knowing what to look out for in your washing products, there are also ways of improving your washing techniques. From cutting down on product use (which also helps you save money and is great for the environment), to knowing where and when to apply the product on your hair, you will find everything you need to know in this article. Now, let's speed up our hair washing routine while protecting our health and achieving shiny, gorgeous hair together!

How To Choose A High Quality Shampoo 

     To do this correctly, you should start by looking for products with natural ingredients and higher degree of viscosity. The viscosity of a liquid is the consistency. The thinner it is, the faster it flows out of the bottle. The slower it flows out of the bottle, the higher the viscosity. Lower viscosity products have a higher water content by volume; higher viscosity products tend to have more of the active ingredients you need for cleansing your hair successfully.
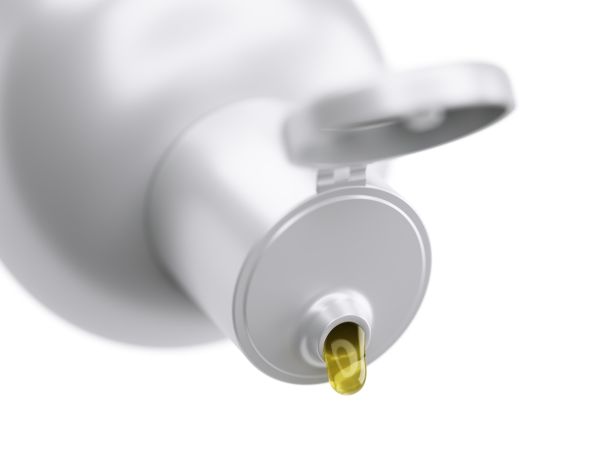
Open Shampoo Bottle- ISA Professional

Natural Ingredients? 3 To Avoid In Shampoos

     The word "natural" is broad and can be easily misunderstood when it comes to personal care products for your hair. Many companies use this kind of buzzword to give you a false sense of security. There seems to be an ever growing need for products with words like natural, organic and chemical free. Although it may sound difficult to know which products are actually natural, there are certain ingredients you should avoid altogether; below are the usual suspects that you should stay away from:

Sodium Lauryl Sulfate/Sodium Laureth Sulfate (SLS)

     Chief among these is Sodium Lauryl Sulfate/Sodium Laureth Sulfate (SLS), a surfectant that is used in many cleaning products, from shampoo to soap to dish soap. It is a skin irritant and may be contaminated with potentially toxic manufacturing impurities such as 1,4-dioxane.

Fragrance/Parfum

     The name of this one sounds innocent enough, fragrance sounds like it should just be something that smells nice. Beware, fragrance is a catch all term that can encompass a large range of chemicals. There can be a undisclosed mixture of scent chemicals and fragrance dispersing ingredients such as diethyl phthalate. These can cause lung and skin irritation, as well as potentially damage the reproductive system.

Triclosan

      This is an antibacterial and preservative which can persist in the environment and may be associated with endocrine (hormonal) toxicity.


     A trick to telling shampoo and hair wash quality is by the size of the nozzle. Most shampoo comes in a flip top bottle with a nozzle built in. The larger nozzles tend to come on products with less active ingredients. The larger nozzle makes you more likely to squeeze out more shampoo. I'm sure you've experienced this, and once it's already in your palm you feel like it would be unhygienic to return it to the bottle and a waste to throw it down the drain, so you put it in your hair and end up using too much shampoo. This is not only a waste of money but also of time because it will take you longer to wash the shampoo residue out of your hair. Additionally, because you used too much shampoo and over cleansed the scalp, you will then need to overuse conditioner in order to replenish the lost moisture, leading to more wasted money and over use of product.

Best Method for Washing
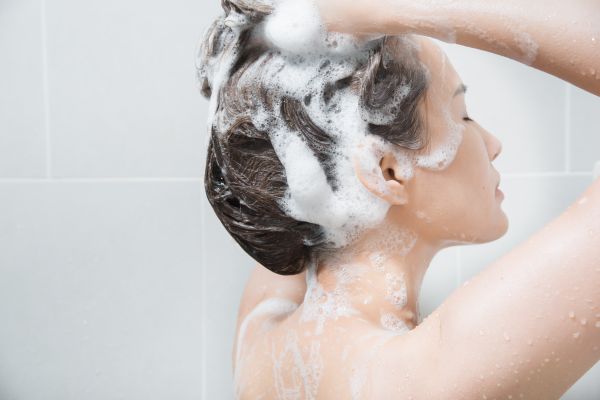
Woman Shampooing Her Hair- ISA Professional

      Once you have chosen a good shampoo or hair wash, the method to washing your hair is simple.


     First, thoroughly wet your hair with warm water. Second, dampen your hands. Third, squeeze the shampoo or hair wash onto the palm of one hand. A dime sized portion should be sufficient for short hair, a quarter sized portion for medium/shoulder length hair, two quarter sized portions for longer hair. Before you apply the shampoo or hair wash, first rub the palms of your hands together to create a lather from the shampoo and the water already on your hands. Then, apply to your hair starting at the top of your head. Then insert your fingers until the tips of your fingers touch your scalp and massage the shampoo or hair wash outwards toward your forehead. Then place your fingers back on top of your head with the tips touching your scalp and massage the shampoo back towards the nape of your neck and tips of your hair. This way, the shampoo or hair wash will stay in contact with each part of your hair for the optimal amount of time: longest on the parts of the head that produce the oils, and shortest on the tips of the hair which are the driest and most easily damaged.

     After you have washed your hair, and given yourself a relaxing head massage in the process, rinse your hair. As a general rule of thumb, you should rinse you hair for three to five times as long as it took you to wash it. You should count this time from when the shampoo or hair wash first touched your hair to when you began to rinse it. If it took you 2 minutes to wash, then it should take you 6 to 10 minutes to rinse it all out. Stand directly under the stream of water and occasionally sweep your hair with your hand, but do not brush when wet as brushing wet hair can damage it.

     Bonus points for doing a finishing cold rinse!

     If you can stand the temperature change, the best final rinse for freshly washed hair is to rinse it thoroughly in water that is as cold as your tap can give you. When I'm camping, the water comes from the well and it is really cold but I smile while trying to not grit my teeth and I tough it out because it leaves my hair so smooth and shiny! The reason this works is because the warm water of the shower opens up the cuticles on the surface of your hair, which under magnification look almost like fish scales. Tricks such as rinsing off in cold water, or flat ironing with a hair straightener in the direction that the cuticles face, smooth them out and seal the cuticles so that you get healthier, stronger hair, and brilliant shine.

     If you used a quality one step hair wash then congratulations and skip to the end on how to dry your hair! If you have a two step shampoo and conditioner combo, then it is now time to apply the conditioner. Conditioner is designed to replenish to hair some of the moisture lost while shampooing and cleansing it. Conditioner can also have ingredients that will smooth, soften and make hair more manageable.
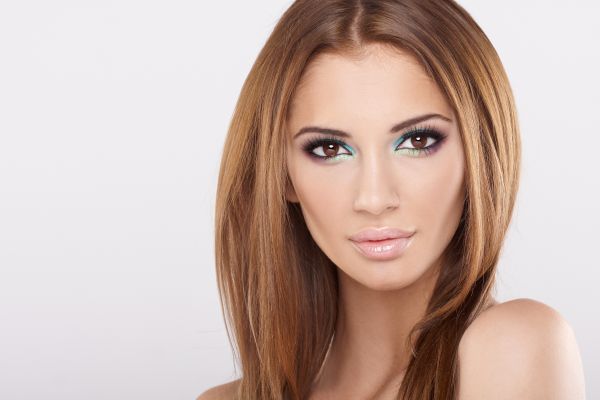
Blonde Woman With Shiny, Healthy Hair- ISA Professional

3 Top Ingredients To Avoid In Conditioners

Polyethylene Glycol (PEG)

     PEG is a small organic alcohol that is commonly used as a conditioning agent. It's a skin irritant and can cause allergic contact dermatitis (rash) as well as contact urticaria (hives).

Dimethicone

     Dimethicone is a silicone based polymer which is used as a conditioning agent and lubricant. It makes the hair seem slicker when used in conditioner. It is classified as expected to be toxic or harmful and is an environmental toxin and can bio-accumulate in your body.

Phenoxyethanol

     Phenoxyethanol is a preservative and fragrance used in skin and hair products. It is highly irritant to skin, eyes, and lungs. Further, it can cause organ system toxicity.

The Truth About Conditioner

     The important thing to remember about conditioner is that most conditioner is designed predominantly for hair, so that's where you should put it. You do not need to apply it in the massaging technique to your scalp. If you have ever used argan oil on your hair you will know what I mean. Over the course of several hours, some of the oil is drawn up naturally up the hair shaft and into your roots. If you have a greasy scalp or hair that becomes naturally oily soon after washing, then apply conditioner only to the bottom 1/2 of your hair. For everyone else, applying conditioner to the bottom 3/4 of your hair is best and capillary action will take care of the rest.

     When applying conditioner, begin at the tips of your hair. Use the same amounts for conditioner as for shampoo given above. Rub the conditioner between your damp hands, then begin by rubbing the tips of your hair if you have short hair, or close your hands around the tips of your hair if you have long hair. Work your hands up toward the roots but do not apply conditioner directly on the roots.

     Because of the way that the moisturizers in conditioner work, you do not have to rinse for as long. A good rule of thumb is to rinse for the same amount of time as how long the conditioner was on. So if it took you two minutes to condition, then rinse for 2 minutes.

     Again, bonus for doing a finishing cold water rinse!

Drying Your Hair

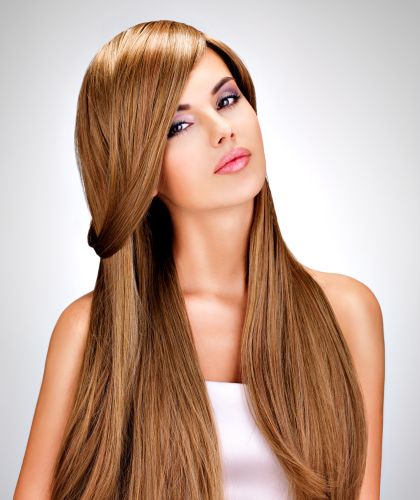
Woman With Long, Straight, Healthy Hair- ISA Professional

     There is a myth that drying your hair naturally, without the use of a hair dryer is the best way to attain healthy hair. This is true, but with some caveats. If you live in a hot, dry, low humidity environment, with lots of sunshine and a steady breeze, and you can spend half an hour in said breeze after you wash your hair each time, gently brushing it, then yes drying your hair naturally is a great choice.

     However, if you live in the world that most of us live in, with time pressures and high humidity summer, then using a hair dryer is best. What you want is to dry your hair the fastest way possible, while using the lowest temperature that is not room temperature. On most hair dryers, this equals the low (but not cold) heat setting and the high speed setting.

     And voila! I hope you've enjoyed reading these tips on how to pick a high quality shampoo and conditioner, then using them to attain your best hair ever! Did you learn anything new? Do you have any tips or ideas to add? Tell us in the comments below.

Save
26 Jul '16

History Of The Flat Iron

The History of Hair Straighteners

Hair straighteners are, for many of us, an essential part of our beauty routine. Some of us use them daily and some just for the weekend, but there’s nothing like the confidence boost you get when you’re done doing your hair. Your time and work paid off and you feel ready to conquer the world. Hair straighteners are also great when you want a change of look: if you have naturally straight hair, you can use the hair straightener to create waves or curls; if you have naturally curly hair, you can use the hair straightener to achieve a sleek, straight style. Hair straighteners have been tweaked over the years to ensure safety and efficiency, and I thought it might be nice to look back and see how this hair tool giant was created in the first place.

The First Hair Straighteners

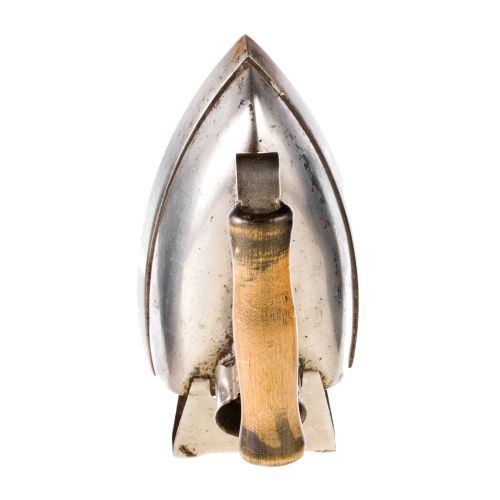
 Old Antique Iron used for Hair - ISA Professional

We have Parisian Marcel Grateau to thank for inventing the first heated rods in 1872. It was actually a comb with metallic teeth, which then inspired Erica Feldman to use it on her hair to control it. It didn’t end there; in 1909, Isaac K. Shero found out that the best way to straighten hair was by using two clothing irons, pressing them down together on both sides, which then left the hair sleek.

A few years later, in 1912, the Scottish Lady Jennifer Bell Schofield took this idea to another level, and invented a hair tool that had two metal plates on either side, joined by a hinge at the bottom. This allowed the user to clamp and unclamp the metal plates on their hair, leaving behind perfectly straight hair. She had grown tired of the curly haired norm and wanted to be different. She was definitely a woman ahead of her time, which then inspired other women to follow suit and try it out themselves. Her invention is the model that most resembles the hair straighteners we know today.

Women in the 1950’s would use a clothes iron to straighten their hair by placing their hair on a flat surface and ironing it as they would for clothing. By the 1980’s, beauty companies decided to improve the safety and efficacy of previous designs by surrounding the two hot plates with insulating plastic. This reduced burns and made it easier to use. I think we can all agree that this was a huge step forward!

Advanced Hair Straighteners

 Woman with Long Straight Helathy Hair - ISA Professional

While the two plated hair straightener is the one that has stuck around, it doesn’t mean that the technology remains the same. It's been improved on further. Nowadays we have many different materials to choose from when deciding on a hair straightener; it’s now a matter of knowing which to choose and why.

As I’m sure many of you already know, not all hair straighteners are of the same caliber and when you want to protect your locks from damage, you have to go with a high quality material and brand. Stay away from any hair straightener whose plates are not made out of ceramic or titanium; these lower quality hair straighteners are basically just metal plates, making them very harmful to your hair. Ceramic and titanium hair straighteners are the best of the best (titanium being the top tier for stubborn or thick hair), especially when the plates are 100% of the material! While it may be pricier to get a 100% ceramic or titanium hair straightener, I think it is well worth the investment. These straighteners won’t break or damage your hair, and if taken care of properly will last you many years.

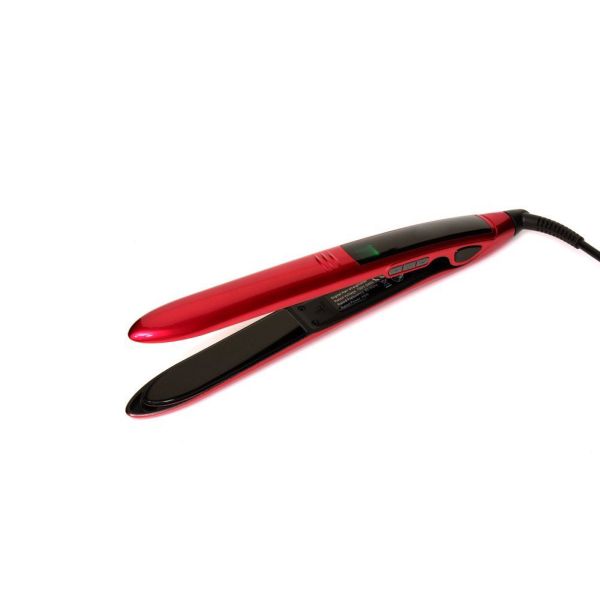
Mirror Titanium Hair Straightener Flat Iron- ISA Professional

Now let’s talk hair straighteners HG (or holy grail), mine being ISA Professional’s Mirror Titanium Digital Straightener. Not only is it a beautiful candy apple red, it’s also tapered around the plates, making it easy to create waves and curls with it. The plates are also made out of, you guessed it, mirror titanium, titanium that is so smooth that the plates look like black mirrors. It’s also digital, which is amazing because it allows me to choose the right heat setting for my hair type. This hair straightener has such an advanced design and is so easy to love because it doesn’t tug my hair, heats up super quickly and has cut my hair styling time by half!

I have color treated, frizzy hair which can be hard to control but this straightener was up for the challenge and then some. I almost couldn’t believe it myself but my smooth, shiny hair is the proof. I’ve also gotten many compliments on how shiny and healthy my hair looks, so this tool is definitely a winner and a permanent staple in my hair care collection.

Hair Straightening Brushes

 Brunette with Healthy Hair - ISA Professional

I also want to talk a little about the newest trend hitting the beauty world right now, hair straightening brushes. These brushes have a built in heat plate on the base of the bristles, making it the only tool you need to straighten your hair. Some women with thicker or coarser hair like using the brush and then quickly using their hair straightener after, to ensure maximum smoothness.

The tips of the bristles are cool to the touch and have no give, making it easy to use and you won’t have to worry about burning yourself. Gone are the days of using a blow dryer before getting that sleek look you want; these brushes will give your hair the control you need. As with any hair tool, always look for a quality brand and materials, as well as a digital temperature readout. Remember, you need to find the right temperature for your hair type, in order for the hair tool to work its best!

What's your hair straightening regimen like? Do you use hair straighteners, curling irons, hair straightening brushes? Tell us in the comments below.
SaveSaveSaveSaveSave
12 Jul '16

The Truth About Tea and Learning to Love It

The Many Healthy Benefits of Drinking Tea

Woman Drinking Hot Tea- ISA Professional

If I asked you which beverage is the most consumed in the world, excluding water, what would your answer be? Coffee? Soda? Beer? It may surprise you, but that honor belongs to none other than tea! Depending on where you live, you may be skeptical. After all, Americans love their coffee while Germans love their beer. While different countries have their preferences, it doesn't change the fact that tea is still the heavyweight champion in the beverage department and luckily for us, that's a good thing.

Although there have been many studies showing the benefits of drinking coffee or beer, tea is also good for your health for various reasons. Now, if you don't like drinking tea because it's too watered down or the taste is not to your liking, you are not alone. I personally hated drinking tea, I preferred soda or water (even though my mother was a huge tea drinker and constantly tried to make me drink it with her). After hearing about the many benefits of tea combined with my mother's continuous nudging, I made the decision to force myself to love drinking it. And guess what? You can do it too!

One way to make it easier to love tea is to understand the different kinds that exist and the benefits you can reap from drinking them. Knowing that your goal is for your own good will make it easier to continue drinking it, and believe me the payoff is amazing. A good way to start is by mixing it with milk, adding honey or cooling it off with ice cubes and adding sugar to it. These additions will help you get accustomed to the tea but remember: the final goal should be for you to be able to drink your tea with nothing added to it. I achieved this and now I can't get enough of it! Now, pick one of the many teas available and start your tea loving journey today!

Green Tea

Green Tea- ISA Professional

Green tea is extremely popular in Asia and for good reasons. Green tea is the least processed of the teas; remember, all teas come from the same plant: Camellia sinensis. What makes them different is how the leaves are processed and oxidized. This gives green tea a very delicate and nice flavor.

The benefits of green tea are considerable: it's packed with antioxidants such as polyphenols and Epigallocatechin gallate (EGCG), both which help protect your cells from damage. These antioxidants work hard by helping stimulate hair growth and leaves you with softer hair. Green tea also helps you lose weight due to it being calorie free, as well as helping lower your cholesterol levels, which in turn, helps your heart. In some cases, green tea revs up your metabolism, making weight loss easier to achieve. It also has catechins, which decrease inflammation, leaving you with younger looking and beautiful skin.

Caffeine wise, it's on the lower side of teas, with about 25mg per cup. Another type of green tea is macha tea, it's very popular in Japan and used in powder form. It has good amounts of Vitamin C, zinc, magnesium and selenium. This helps prevent disease but may not be the best choice for tea beginners due to its grassy taste.

Black Tea

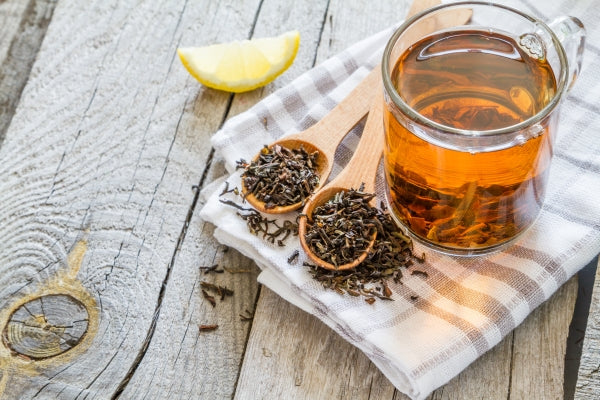
Black Tea- ISA Professional

Black tea is the most common type of tea and is fully fermented; it's also the tea with the highest caffeine content with about 40mg per cup. Black tea, like green tea, is also great for lowering your cholesterol levels. This is because it contains the antioxidants theaflavins and thearubigins, which helps your heart's health and even decreases your risk of having a stroke. Some reseach shows that the antioxidants in black tea can help prevent ovarian cancer, making it great for women to drink. If you're having problems with cavities, polyphenols will help kill the bacteria which causes cavities, leading to a healthier mouth. It also helps prevent that sticky plaque which appear on our teeth, so if you want a beautiful smile, black tea is for you!

Oolong Tea

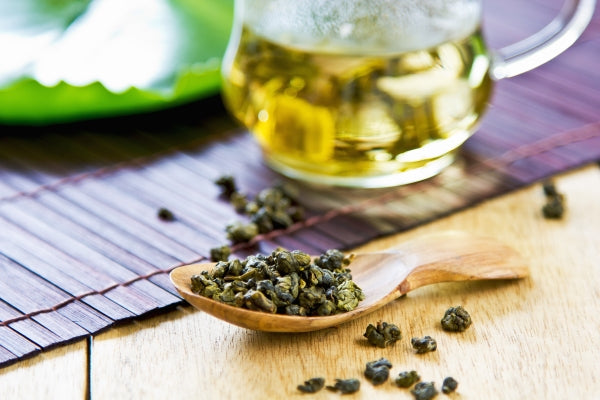
Oolong Tea- ISA Professional

Oolong is like a hybrid between black and green tea, this is because its leaves are partially oxidized. Since oolong tea is fermented for a shorter amount of time, it makes it taste richer than black or green tea. If you regularly find yourself stressed out, you'll find that drinking oolong tea will help reduce your stress levels by up to 18%! Unless you can't take caffeine, oolong tea will help your digestive track by reducing inflammation and also helps with stomach ulcers and acid reflux. A cup of oolong tea has about 30mg of caffeine.

White Tea

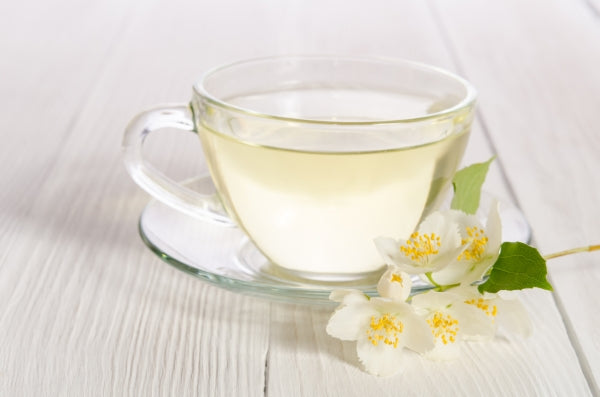
White Tea- ISA Professional

White tea is a great one to begin with because it's one of the mildest tasting teas; this is because the leaves are picked very early on and they are unfermented. White tea will help eliminate free radicals in your body, which can lead to damaging your DNA, making it a great immune booster for your body. Many love drinking white tea because it helps relieve arthritis pain, so getting some loose white tea leaves for your grandparents as a gift would probably be highly appreciated. White tea also has the lowest caffeine levels with about 15 mg per cup.

Herbal Tea (Tea?)

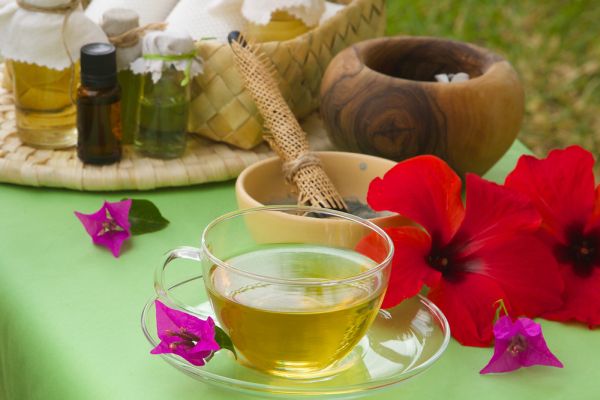
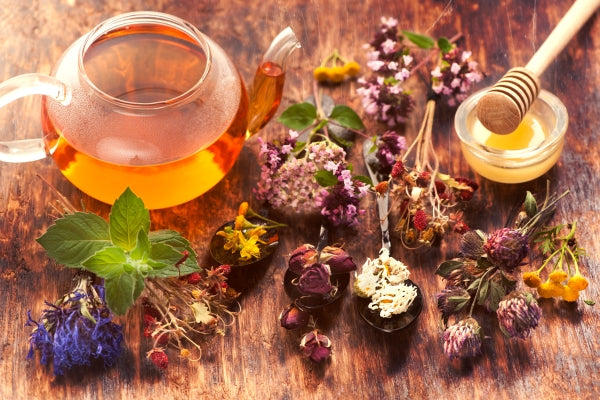
Herbal Tea- ISA Professional

You may have seen plenty of herbal teas at your market but I have news that may surprise you: herbal teas are not real teas! They are simply infusions of leaves, barks, fruit or roots in water. Even if they are not traditional teas, they can still have health benefits (although not nearly as much as the traditional teas listed above).

A popular herbal tea that is regularly used to help digestion and gas is peppermint tea. You'll also find that ginger tea can help quiet your upset stomach and motion sickness symptoms. Chamomile is a soothing and calming tea, usually reserved for right before bedtime and as a tool to help insomnia. Rose hips are the fruit of the rose plant and are a great source of Vitamin C, which helps your immune system work more efficiently.

Woman Enjoying Garden- ISA Professional

If you've managed to make it to the bottom of this post, then I hope I've convinced you to go out and try a cup for yourself. Giving tea a chance and learning to love it will make you healthier and feel better overall, and really, what's better than that? Steeping and choosing the right temperature for tea can be tricky but with practice, you can become a master brewer. If you're already a tea lover like myself, tell me your favorite tea; mine is green! Happy drinking!

SaveSaveSaveSave
28 Oct '15

How To Make Perfect Curls with A Curling Iron Or Hair Straightener

How To Make Perfect Curls

Curling irons (or hair straighteners shaped for making curls) can give you so many versatile looks, it's a staple in many people's beauty tool arsenal. Whether you have pin straight or naturally wavy hair, curling tools can give you the look you want. While this may sound easy, there are many common mistakes that some people make when using curling tools that can lead to serious heat damage and hair breakage (a perfect example being to NEVER curl wet/damp hair!). We want to help you get the most out of your curling tool methods, leaving you with your desired curls! Remember that we all have to go through the process of learning the basics, so don't go crazy if the curling tool doesn't do what you want right away; this frustration is completely normal and will disappear as you continue practicing, don't give up!

Invest In A High Quality Curling Iron Or Straightener That Can Be Used For Curling

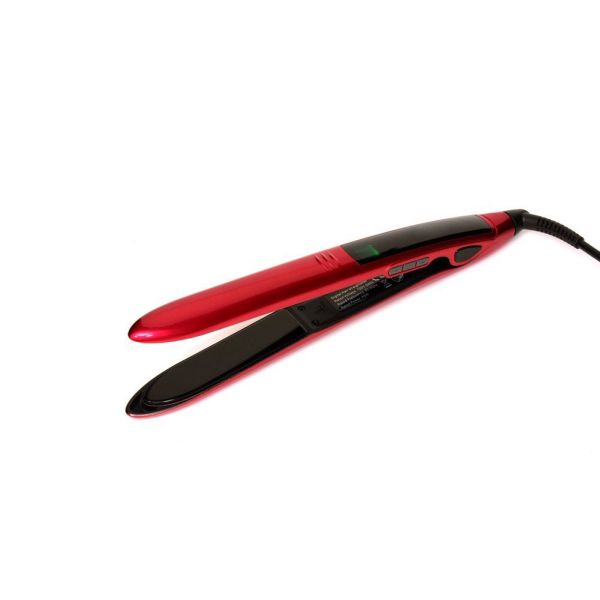
ISA Professional Mirror Titanium Straightener

I've said this before but I have to repeat it again since it's so crucial to start on the right foot when using any hot styling tool: you must invest in a high quality curling tool to protect your hair from breakage and uneven heat damage. A well made curling tool will not only cut your styling time but will last for many years. Instead of using a brand that has metal plates with a small amount of ceramic coating that chips off with use, invest in one that boasts pure ceramic/titanium plates instead. While these may be a bit pricey, they heat up quickly and evenly, protecting your hair from frizz and dryness, which is worth every penny. I love using my ISA Professional's Mirror Titanium Straightener; it works for straightening but its shape makes it great to create curls as well! It leaves me with beautifully defined curls all day long and it's made of mirror titanium. It's such a great multi use styling tool.

Choose The Right Barrel Size And Temperature For The Curl You Want

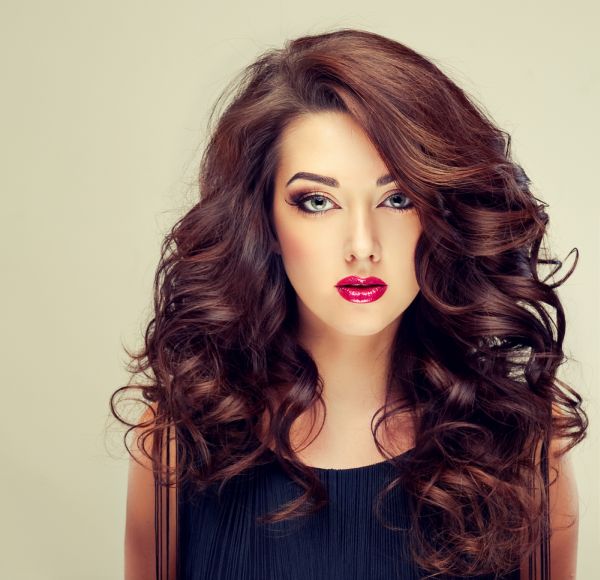
Woman With Beautiful Brown Curly Hair ISA Professional

 
Before investing in your curling tool, you need to know which size is right for the curl you want to make. If you want tight, defined curls or have short hair, go with a .75”-1” curler. If you want looser, beachy wave curls, go with a 1”-2” barrel. Remember, the bigger the barrel, the looser the curl! While some like to have both barrel sizes, I find my 1” is versatile enough to do either styles; if I want looser curls, I just comb through them with my fingers to loosen and break them up a bit.

Those with fine, color treated hair should set it from 150-250°F. Those with thicker, coarse hair should set it from 250-350°F. Only use the temperatures above 400°F with extreme caution, or you risk seriously burning your hair. Hair styling tools should be used according to your hair type. Another important tip is to not hold the curling iron against your hair for too long. Don't hold it longer than 5 seconds or you can burn your hair off, those with coarser hair can hold it for a little longer but don't go over 10 seconds.

Prep Hair With Heat Protection Spray For Before And Holding Spray For After

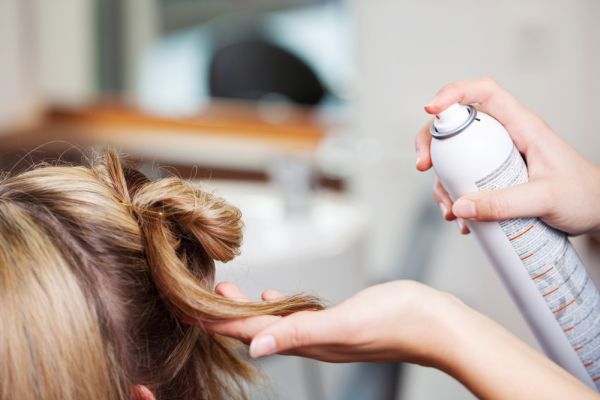
Stylist Applying Hair Spray To Client's Hair ISA Professional

Heat protection is so important when using heat styling tools, you can't skip this step or your hair will suffer the consequences. Instead of applying it all over before curling, you should apply it section by section as you curl. This way the product is evenly applied, just brush out any tangles in between spraying and curling to make sure the curling tool doesn't tug your hair. When you're done, use a light formula hair spray to mist over your curls to keep them in place and fight humidity.

Always Curl Your Hair Facing Away From Your Face

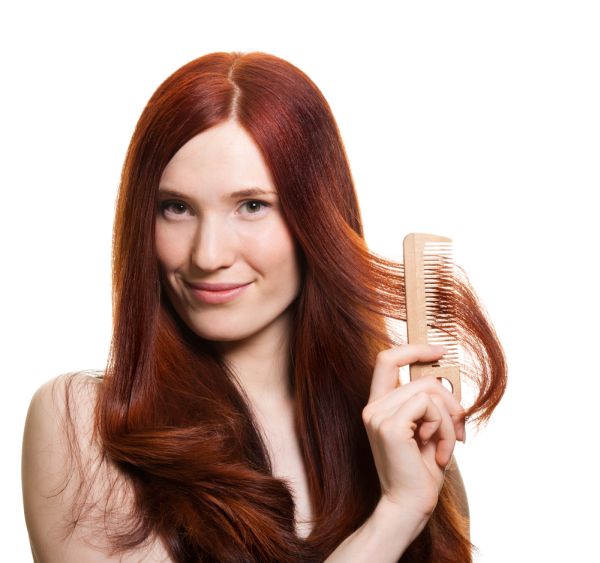
Red Haired Woman Combing Hair Away From Face ISA Professional

When curling your right side, twist the curling iron clockwise away from your face and counter-clockwise when working on your left side. This will ensure your curls frame your face, giving you a flawless and natural look. Although I do this with the front part of my hair, I like to mix up the directions towards the side and back of my hair to give it more body. After I'm done curling my hair, I use a wide tooth comb to lightly comb through my curls. Although this may sound crazy, it gives me the look I want and makes my curls stay in all day!Save
18 Jul '15

DIY Fruity Hair Masks That Moisturize and Smell Like A Dream

DIY Hair Masks


While going shopping to the store can be extremely fun and satisfying as you walk around the aisles and compare different products against each other, there are cheaper alternatives when it comes to your beauty care. I am a huge DIY advocate when it comes to beauty treatments and hair masks are one of my absolute favorites to make. Hair masks are a cheap, efficient way to give your hair some much needed TLC and the ones made with fruit smell sooo good, you really have to try these!


One of the perks of using fruit on your hair is that these masks are more efficient when the fruit is very ripe (not ideal for eating). So whenever you have some fruit left over that you didn't get to eat in time, instead of throwing it out, you can use it for your hair! Hair masks make your hair more manageable and soft, so combing and styling time is much shorter. Just make sure to shampoo and rinse your hair extremely well after applying these and before styling! I prefer to use ISA Professional's digital flat iron after applying any of these masks; it allows me to control the pure ceramic plates temperature, leaving my hair looking super smooth and straight, without any heat damage.


The hair masks' efficiency is obvious by how soft and healthy my hair looks afterwards; give some of these a chance and let me know how they worked for your hair and wallet!


Avocado Mask

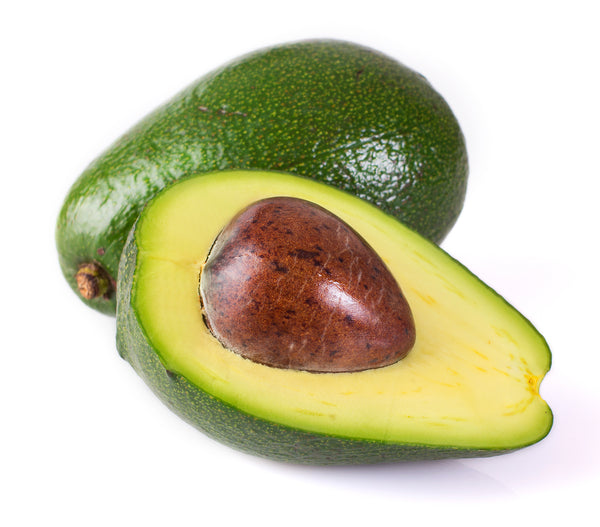
Avocado

Avocados are well known to be highly beneficial to beauty routines; this is because avocados are high in Vitamin E and B, making them great for moisturizing skin and hair. Avocados are also rich in oil, making it ideal for those who want their hair to have a natural shine. Mash a whole ripe avocado until it's as smooth as you can make it. Mix a teaspoon of almond oil to the smooth avocado and apply the mixture to your hair, concentrating on your roots first. Wear a shower cap and let sit for 30 minutes to let it take effect. Shampoo, condition and rinse well. Style as usual.


Banana Mask

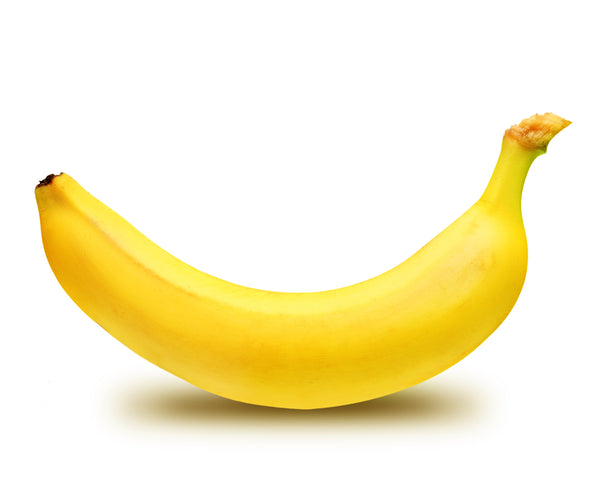
Banana

Bananas have high levels of potassium which are great for dry, damaged hair. Bananas also have Vitamins B, C and E, which help repair broken and split ends. This mask is ideal for those with color treated hair, since dyes leave hair dull and dry and the banana mask helps hydrate those colored locks. Mash a very ripe banana until it's a smooth consistency and add a teaspoon of almond oil to the mixture. Apply the mixture to hair, concentrating on your roots and split ends, wear a shower cap and let sit from 20-30 minutes. Shampoo, condition and rinse well. Style as usual.


Peach Mask

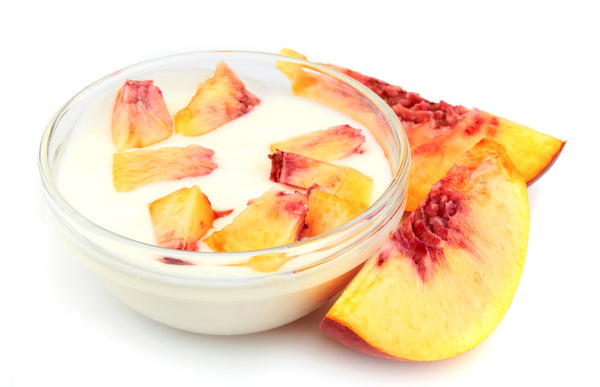
Peaches and Yogurt

Peaches are great to treat an itchy or dry scalp. Since peaches have Vitamin A, C and B, it's great for cleaning your scalp and treating your roots. Peach hair masks will allow your hair to be hydrated and healthily. Mash 2 ripe peaches until it's a smooth consistency. Mix in a cup of yogurt and apply on your hair, concentrating on your roots. Put on shower cap and let it sit for 20 minutes. Shampoo, condition and rinse well. Style as usual.


Strawberry Mask

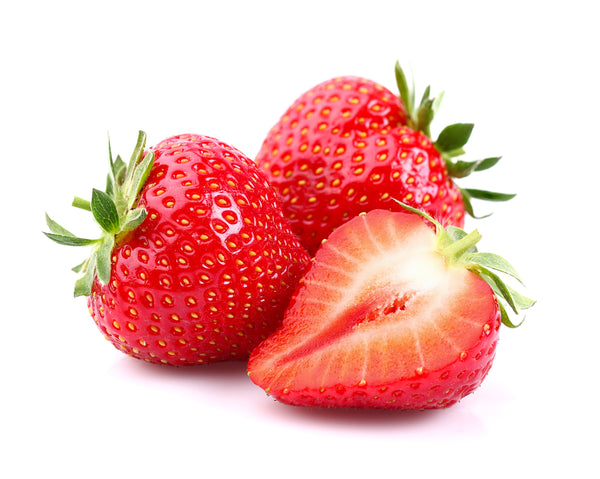
Strawberries

Strawberries are great for your hair, it leaves it with less frizz and more shine due to its high content of Vitamin C. For this you will need a handful of ripe strawberries (enough to cover roots and most of your hair), mash or blend them well and mix in 2 tablespoons of olive oil and 1 egg yolk. Apply on your hair, concentrating on roots, wear shower cap and let sit for 20 minutes. Shampoo, condition and rinse well. Style as usual.

SaveSave


Shopify secure badge
Copyright © 2024, ISA Professional.

Cart Summary
Continue Shopping
ISA Professional Heat resistant curling glove for hair curler flat iron hair straightener
ISA Professional Digital Titanium Flat Iron Hair Straightener
387.00
Cart Summary
Complete your purchase by clicking "Checkout" button
ISA Professional Heat resistant curling glove for hair curler flat iron hair straightener
12.99
ISA Professional Digital Titanium Flat Iron Hair Straightener
387.00
@